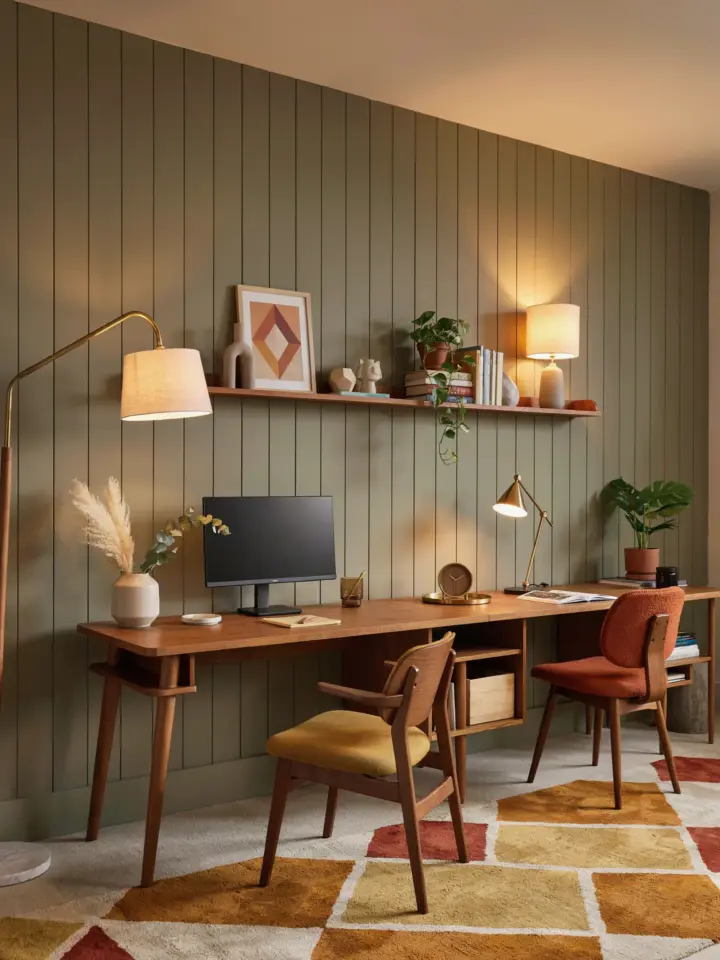
I’ve lost count of how many IKEA hack home office transformations I’ve attempted, but the one that finally worked taught me everything I was doing wrong. You see, that viral Pinterest photo of a pristine desk with hidden storage and smart cable management? It hides a trail of mistakes most DIYers make along the way. This guide walks you through the common pitfalls so your own budget office makeover actually turns out as clean and functional as you imagined. No hype, just real lessons from someone who has tripped over every single one.
Choosing the Wrong Desk as Your Base
The biggest mistake? Grabbing the cheapest IKEA desk top without thinking about what you’ll store underneath. A plain LINNMON or LAGKAPTEN looks good in the store but warps easily and offers zero built-in storage. Then you end up tacking on drawers and shelves that never quite match.
Stick with solid wood or particleboard with a sturdy frame like the BEKANT or IDÅSEN. They handle the weight of monitors and hidden storage drawers without sagging. Measure twice: your monitor height, cable drop length, and the space for a keyboard tray underneath. A wrong base means everything else fights against you.
Skipping Cable Management Until It’s Too Late
I once assembled a whole IKEA desk, placed my laptop on it, and then realized the power strip had no home. Cables dangled like spaghetti. That’s when I learned cable management isn’t an afterthought, it’s a structural decision from the start.
- Plan your cable route before drilling anything. Use a SIGNUM cable management tray under the desk, but secure it so the screws don’t hit your leg.
- Install a surge protector with a long cord. Mount it to the underside of the desk using adhesive clips or a small IKEA SKÅDIS pegboard panel.
- Use label ties for every cord. Sounds fussy, but when you need to unplug your monitor, you’ll know exactly which cable to pull.
One more tip: cut a small notch in the back edge of the desk top using a jigsaw or a file. That creates a hidden channel for wires without them pinching. Do this before you attach the legs.
Ignoring Storage Needs Before You Build
Everybody wants that “clean desk” look, but hidden storage only works if you actually have a system for the stuff you use daily. I stuffed a drawer with cables, sticky notes, and random pens, and within a week it was a mess. The mistake was not sorting by frequency of use.
Use IKEA’s KALLAX or EKET cubes with baskets for bulky items like printer paper or boxes. For small desk items, repurpose an IKEA VARIERA drawer organizer inside an ALEX drawer unit. But here’s the trick: assign every cube or drawer a specific category BEFORE you assemble. That way you don’t end up with a catch-all junk drawer.
Forgetting About Proper Lighting
That gorgeous moody desk lamp in the Pinterest photo? It’s useless for actual work. I made the mistake of buying a small IKEA JANSJÖ task light with a dim bulb, and my eyes hurt after an hour. Good lighting is not a decoration, it’s a productivity tool.
Avoid relying on overhead lights alone. Get an adjustable arm lamp like the IKEA TERTIAL or an LED strip under a shelf. Place the light on the opposite side of your writing hand to reduce shadows. If you use a standing desk, choose a lamp with a clamp that attaches to the desktop, not the wall.
Not Planning for a Clean Before and After Look
You see those dramatic before and after photos, and you think it’s all about buying new stuff. Actually, the biggest transformation comes from editing what you already own. I wasted money on new organizers for things I didn’t even use. The result? A cluttered after photo that looked worse than the before.
Spend 20 minutes clearing everything off your desk. Sort into three piles: keep (used weekly), store (used monthly), and donate. Only then buy IKEA storage. For the after photo, style with purpose: put your monitor at eye level, hide the bulky power bricks behind a small box, and leave only your daily driver notebook on the surface. That’s what makes the transformation look effortless.
Overcomplicating the DIY Process
I once tried to build a custom floating desk using IKEA parts, a sliding keyboard tray, and a hidden charging station. The project took three weekends and ended up
#IKEAHack #DIY #HomeOffice #OfficeDecor #OfficeIdeas
Leave a Comment