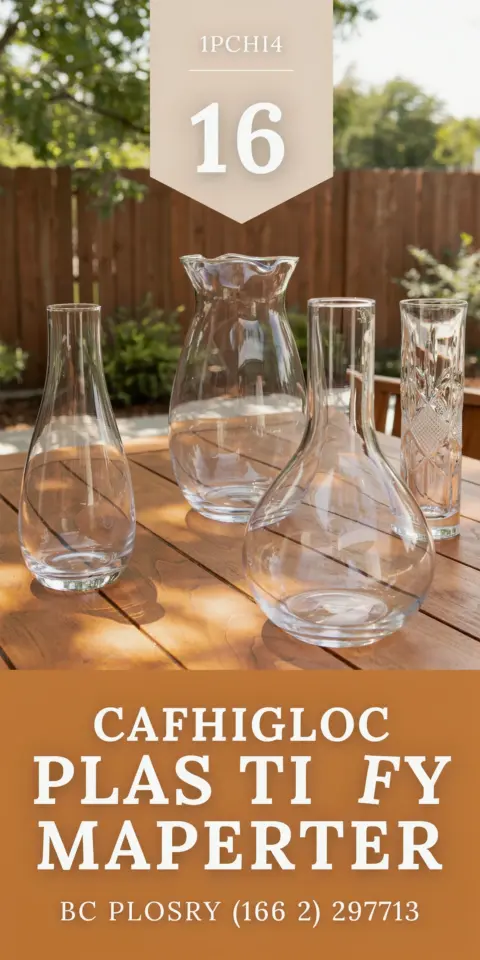
You spot a dusty glass vase at the thrift store. It is plain, maybe a little dated, but the shape is good and the price tag says $1.50. Your mind races with ideas for a thrift store glass vase makeover. You grab it, excited to turn it into something special. But then the craft fails. Paint peels. The finish looks sloppy. The vase ends up back in a donation box. I have been there more times than I want to admit. After plenty of trial and error, I figured out the exact mistakes that sabotage a budget DIY decor project. Let me walk you through them so your next thrifted home decor piece actually turns out the way you imagined.
Choosing the Wrong Vase Shape for Your DIY Vision
The biggest mistake I see is grabbing a vase with too much detail. Heavy ridges, deep embossing, or complicated curves can make a simple paint job look messy. You end up fighting the original design instead of enhancing it. Stick with smooth, clean lines. A cylinder, a tapered bud vase, or a classic urn shape works best for a refined accent.
Also avoid vases with narrow necks if you plan to add texture or a dip-dye effect. You want easy access to the entire surface. Look for a wide opening and a simple silhouette. That $1.50 cylinder from Goodwill will serve you better than a fancy cut-glass piece that fights every coat of paint.
Skipping the Cleaning Step (And Why It Ruins Paint Adhesion)
I learned this one the hard way. I once painted a thrifted vase without washing it first. The paint beaded up and flaked off within days. Thrift store glass has years of dust, oils from people touching it, and sometimes residue from previous flower water. You must clean it thoroughly.
Wash the vase with warm soapy water and a scrub brush. Dry it completely. Then wipe the entire surface with rubbing alcohol or white vinegar on a lint-free cloth. This removes any invisible film. Do not skip this step even if the vase looks clean. It is the difference between a makeover that lasts and one that chips before you finish arranging the flowers.
Using the Wrong Type of Paint or Primer
Not all paint sticks to glass. Regular craft acrylic will peel off smooth surfaces unless you use a proper bonding agent. My go-to supplies include a few key items that save time and frustration. Here is what works for a thrift store glass vase makeover:
- Spray paint labeled for glass and multi-surface (like Rust-Oleum Universal or Krylon Fusion). These bond without a separate primer.
- Acrylic paint plus a primer for glass (such as FolkArt Glass & Tile Medium). Mix it with the paint or apply it first.
- A clear spray sealer to lock in the finish (matte or gloss depending on your look).
- Painter’s tape if you want clean lines or a two-tone design.
- Fine-grit sandpaper (220 grit) for lightly scuffing the glass if you want extra adhesion. Not always necessary but helpful for tricky shapes.
Avoid cheap dollar-store spray paint not designed for glass. It will drip, run, and yellow over time. Spend the extra dollar or two on quality materials. Your discounthomedecor project will look like it cost ten times more.
Rushing the Drying or Curing Time
Patience is the cheapest supply you need, but it is the one most of us ignore. I have ruined several vases by handling them too soon. Spray paint on glass dries to the touch in 20 minutes, but it does not fully cure for at least 24 to 48 hours. If you add a second coat too fast, you get drips and an uneven finish.
Here is my rule: apply thin, light coats. Wait the full time stated on the can between each coat. Then let the vase sit untouched for a full day before you add flowers or move it to a shelf. If you dip the vase in water or use it for fresh stems, wait a full week for the paint to harden completely. Rushing that cure is the fastest way to
#thriftstoreglassvasemakeover #thriftedhomedecor #budgetdiydecor #discounthomedecor #glassvasemakeover
Leave a Comment