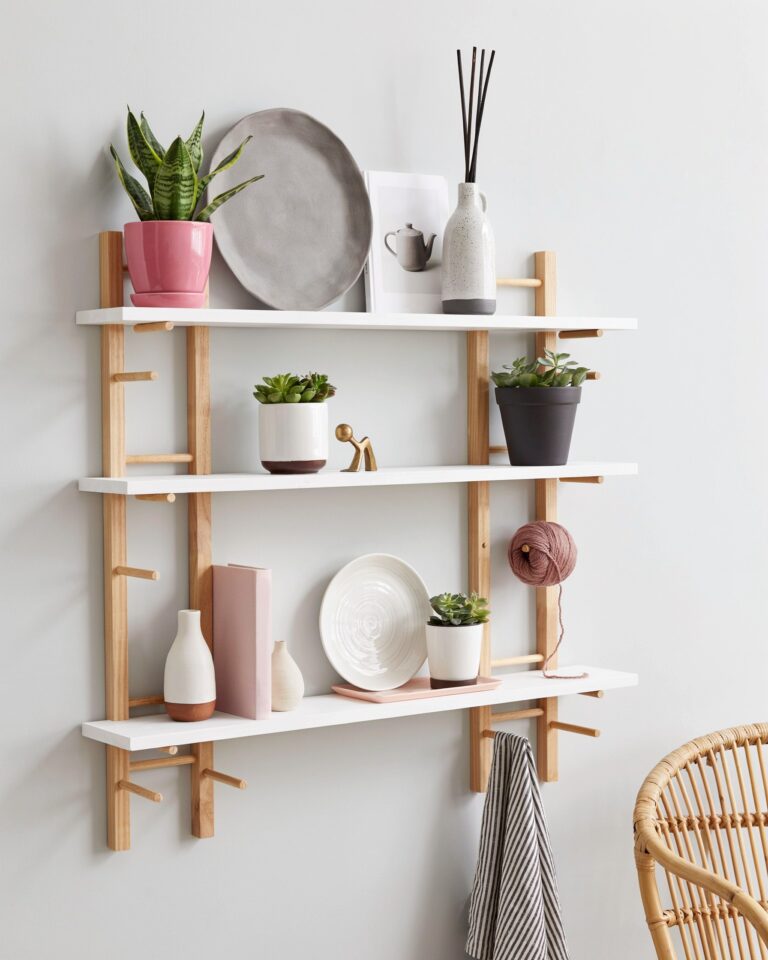
IKEA shelf hacks sound simple enough, but I’ve seen too many people mount their OSTBIT wood plate racks only to watch them sag, wobble, or fall off the wall entirely. This DIY shelving project is genuinely budget-friendly, but a few common mistakes can turn it into a frustrating waste of time and money. I learned the hard way, so let me walk you through the pitfalls to avoid. By the end, you’ll have sturdy, stylish wall shelves that actually hold your stuff without drama.
Why Your OSTBIT Racks Keep Falling Off the Wall (and How to Fix It)
The most common mistake I see? Skipping the wall-check step. Those thin OSTBIT wood plate racks are light, but once you load them with books and plants, they need solid anchors. If you mount directly into drywall with just a nail or a cheap plastic anchor, you’re asking for a crash.
Here’s what to do instead: tap the wall to find studs. If you can’t hit a stud, use toggle bolts or heavy-duty zip anchors rated for at least 50 pounds per shelf. I use stainless steel toggle bolts on plaster walls and metal anchors on drywall. Trust me, it takes an extra ten minutes, but it saves you from cleaning shattered ceramics off the floor.
- Stud mount – strongest option for heavy items.
- Toggle bolts – best for hollow drywall without studs.
- Snap toggles – easier to install than traditional toggles.
- Avoid cheap plastic expansion anchors – they slip over time.
The Leveling Trick That Prevents a Cropped Disaster
I’ve seen dozens of DIY shelving photos where one shelf tilts slightly downward, making everything slide off. People rush, eyeball the level, and call it good. But even a 2-degree tilt on a long shelf creates a visible slope that drives you crazy later.
Use a 4-foot bubble level across the entire span of your shelf system, not just each individual rack. Mark your pilot holes with a pencil, then double-check with the level before drilling. I also recommend drawing a faint horizontal guideline with a laser level. It’s cheap and saves you from needing to re-drill holes that leave ugly marks in your wall.
Planning Your Shelf Layout Before You Drill Saves Hours
Another mistake is diving in without measuring the space first. You buy five OSTBIT racks, drill them in random spots, then realize your favorite picture frame doesn’t fit between two brackets. That’s frustrating and wasteful.
Instead, lay out all your items on the floor first. Arrange them by height and weight, then measure how much horizontal space each section needs. Mark the wall with painter’s tape to visualize placement. I like to leave at least 6 inches between racks for visual breathing room. For small rooms, stagger the heights to create a gallery wall feel without crowding.
What Happens When You Overload Those Thin Wood Shelves
The OSTBIT racks are designed for plates and small decor, not a full encyclopedia set or a heavy ceramic vase. I once stacked three hardcover novels on one rack and watched it slowly bow over a week. The wood itself is thin, so it will warp under too much weight.
To avoid this, reinforce the shelves by adding a thin wooden strip underneath, glued and screwed into the bracket. Or simply keep lightweight items on top and heavier things on bottom shelves. A good rule: no single rack should hold more than 10 pounds unless you reinforce. For books, use two racks side by side to distribute weight.
The Ugly Truth About Unpainted OSTBIT Racks
Raw wood plate racks can look unfinished and absorb dust and grease over time. I left mine natural for a month, and they turned yellow in the kitchen. The wood also warped slightly from humidity. Not cute.
Paint or stain them before mounting. Use a foam roller with chalk paint for a matte, smooth finish that hides brush strokes. Or go with a clear polyurethane if you love the natural wood tone. Sand lightly with 220-grit paper first, wipe clean, then apply two thin coats. Let each coat dry fully. This also seals the wood so it won’t swell from moisture in bathrooms or kitchens.
How to Connect Multiple Racks for a Seamless Look
Many people mount each OSTBIT rack individually, leaving gaps between them. That works, but it looks disjointed, especially in long runs. Worse, the racks can shift independently if bumped.
For a clean, custom look, screw a long wooden board across the back of multiple racks before attaching them to the wall. Use 1×4 pine boards cut to length, painted the same
#IKEAhacks #shelfhacks #DIYshelving #budgetdecor #wallshelves
Leave a Comment